Visual Studio Code is one of the best things to come out of Microsoft. No kidding. I’ve been using it for development since early 2018 and it keeps on getting better. The customization possibilities are endless and the number of extensions is impressive. You can find everything, from themes to lint parsers, to code beautifiers. There’s also an extension for Remote Development, which is the focus for this post.
Remote Development
I’ve been coding for a while, and I typically do this on a remote server for a couple of reasons:
- You don’t need the dependencies installed locally or mess around with web servers on your local machine,
- Backups; this remote system typically had better backups than the laptop I was coding from,
- Package management; different projects might require different dependencies to run. The remote server was geared to running a specific project.
So, most of the time I had an NFS, SMB, or APFS mount to that remote server on the machine I was developing on. This worked until the network started to act up and turn slow. I also started traveling for work and wanted to work remote, and slow network connections are killer for developing on remote filesystems. Waiting a couple of seconds for each file open and save, is no fun.
VS Code Remote Development
A few months ago, the Code team released a preview of 3 extensions that allows remote development on Containers, SSH servers and on the Windows Subsystem for Linux (WSL).
It’s been done pretty clever as well; Code installs itself on the remote server and opens up a port, to which the local Code client can connect to. For SSH servers, it opens up an SSH tunnel and does the same. This means that it doesn’t open up a new connection every time you need access to a file, which can be slow over SSH. Their custom protocol can be optimized for speed.
I’m going to be focusing on the Container option in this post, but definitely check out the other options.
Why Containers
For me, the best part about containers is that you have a clear definition of how the container looks like; what packages are installed and what configuration is pushed. It’s a clean system every time you rebuild it. This way, you can make sure all dependencies (and their versions) are 100% functional with your code.
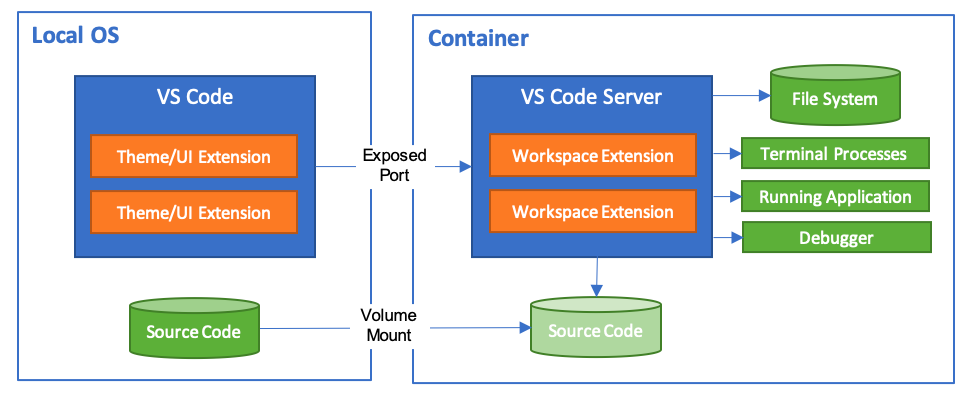
With the Remote Development extension, Code can talk to a local or remote Docker API and build the right container. It also goes into the container and installs the VS Code Server, which is used by the Code client and handles connectivity between the two. There’s also a filesystem mount created from the source code directory, essentially making your local code available on the container. You’ll be editing locally (so no latency) and running/compiling it remotely.
As long as the requirements are not too big, I’ll go for a container above a remote server, every time.
Getting Started
It doesn’t take a lot to get this going. Just install Docker, make sure you have the latest version of Code, and install the Remote Development Extension Pack. You’ll need to modify 1 setting in the Docker preferences as well, to make sure the volume mount van succeed.
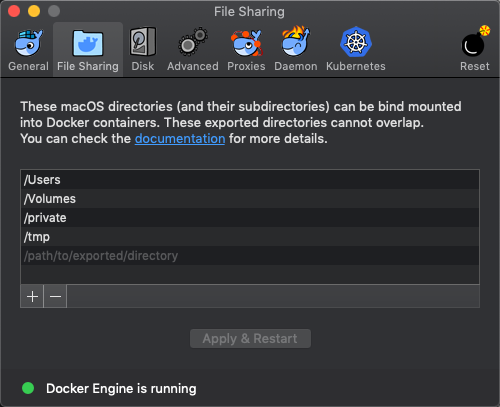
Add the directory where you host your code. I just went all in and put /Users here.
After this, you can create a project-specific configuration. This is where you define what type of remote development you need, which Code extensions you want in there, and then point to a Dockerfile (assuming you’re using containers). In the root of your project, create this structure:
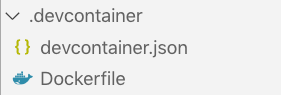
The contents of devcontainer.json is fairly straight forward:
{
	"name": "PowervRNI Development Container",
	"dockerFile": "Dockerfile",
	"extensions": [
		"ms-vscode.powershell"
	]
}
The name value shows up in the taskbar, so you can recognize to which remote environment you are connected. The dockerFile value is pretty self-explanatory. 😉 If you want to have more Code extensions installed into the VS Code Server instance, simply add them to the extensions array.
Now for the Dockerfile file:
FROM microsoft/powershell:ubuntu16.04

# Set working directory so stuff doesn't end up in /
WORKDIR /root

# Configure apt
ENV DEBIAN_FRONTEND=noninteractive
RUN apt-get update && apt-get -y install --no-install-recommends apt-utils 2>&1

# Install git, process tools, lsb-release (common in install instructions for CLIs)
RUN apt-get -y install git procps lsb-release

# Trust PSGallery
SHELL [ "pwsh", "-command" ]
RUN Set-PSRepository -Name PSGallery -InstallationPolicy Trusted

CMD ["/usr/bin/pwsh"]
If you’re familiar with Dockerfiles, this is pretty straight forward as well. It’s using the Microsoft repository and grabbing the image based on ubuntu16.04. When the container is downloaded and spinning up, it updates the apt repositories in order to install Git, using the apt-get commands. Last thing it does is to set the PowerShellGallery as trusted and start a PowerShell shell.
Running the Container
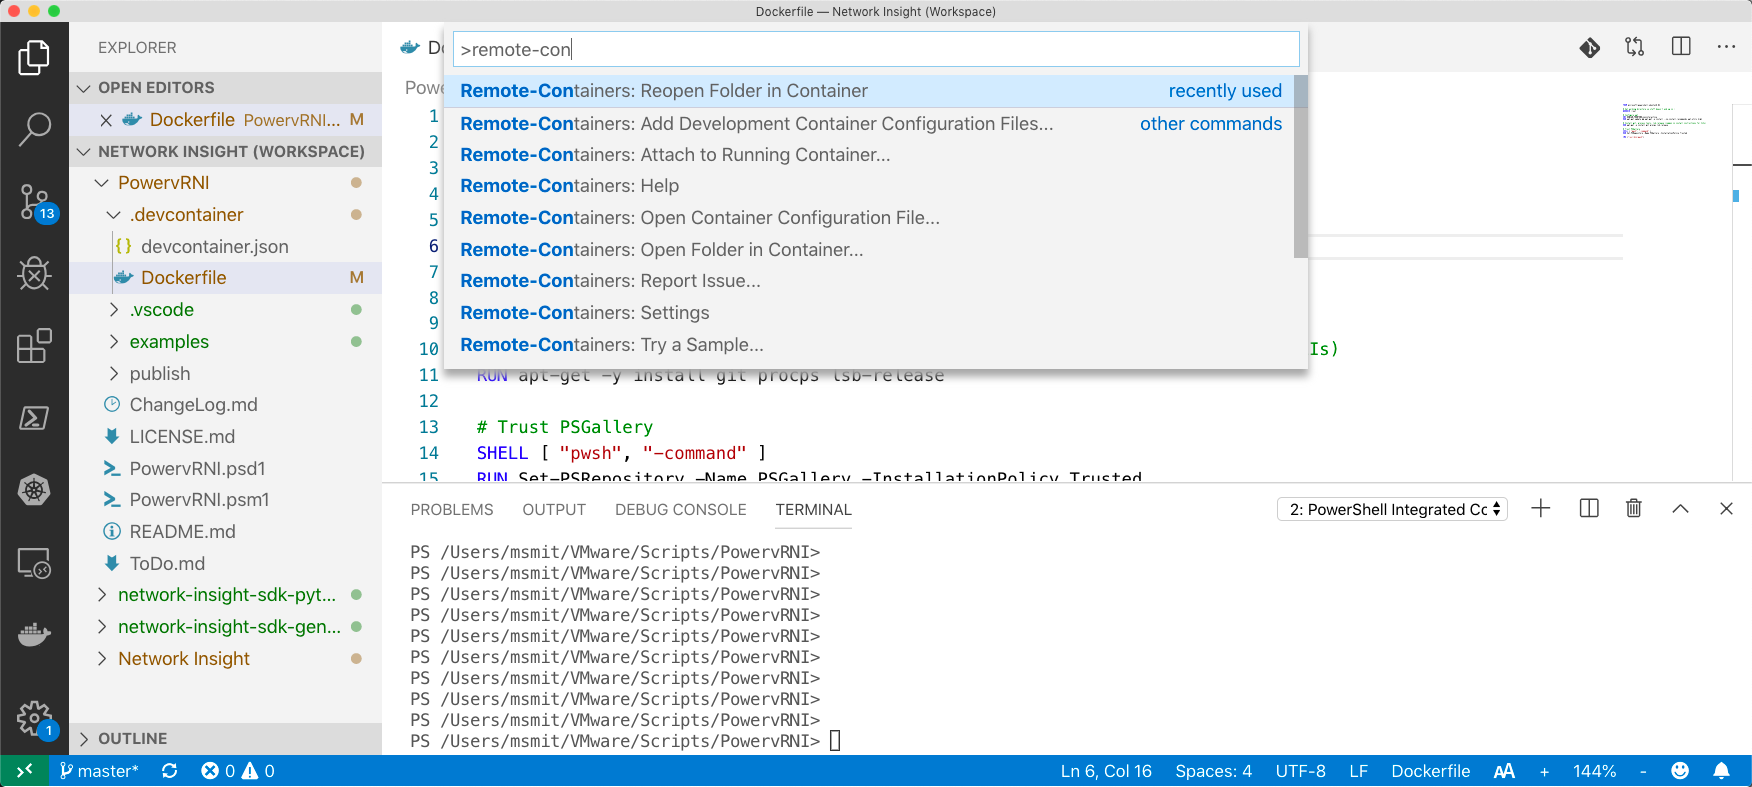
After defining the devcontainer and Dockerfile configurations, make sure Docker is running and open up the Command Palette (cmd+shift+p on MacOS, F1 on Windows) and search for remote-containers – which will give you the option to open a project folder in a container.
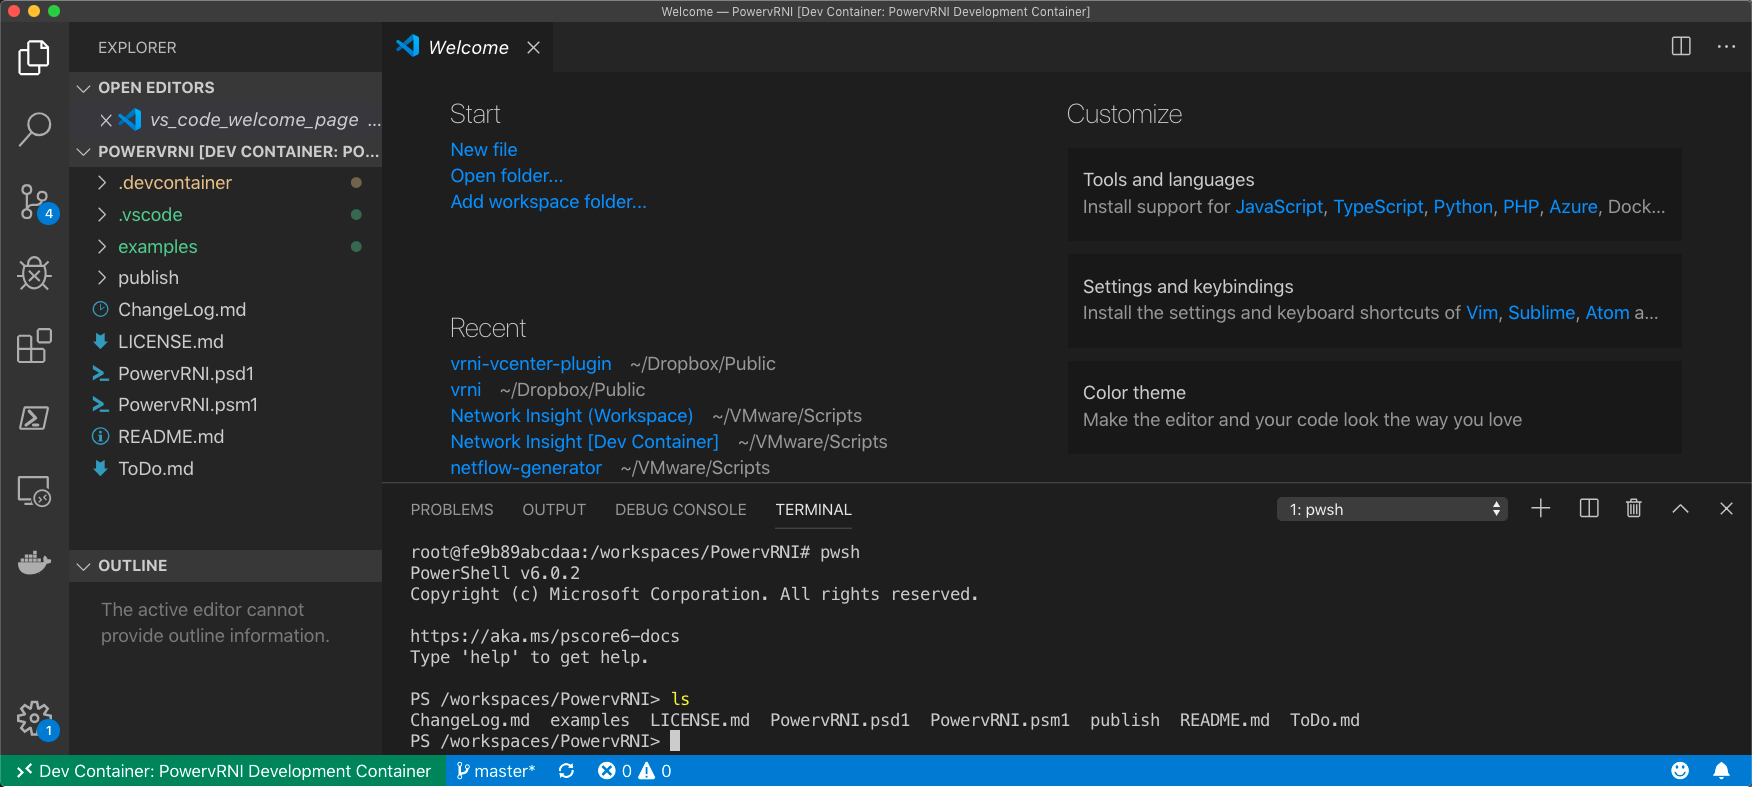
Use the command “Remote-Containers: Reopen Folder in Container” and then select your project folder. Code will now reach out to Docker to see if it has an existing container that’s already running, or if it needs to build a new one. If this is your first time running it, give it a few minutes to download and build the container against the Dockerfile configuration. You’ll see the progress in the bottom right.
When it’s done, the TERMINAL tab will open up to the console of the container itself and you can use the editor to write your code and the container console below to test it out!
More Examples
The Code team has done awesome work by making a lot of devcontainer examples available here: https://github.com/microsoft/vscode-dev-containers/tree/master/containers
From PowerShell, Python, Java, Go, to even Swift examples, there’s most likely an example for the language you’re looking for.
Leave a Reply