Removing the VMware NSX Solution from vCenter
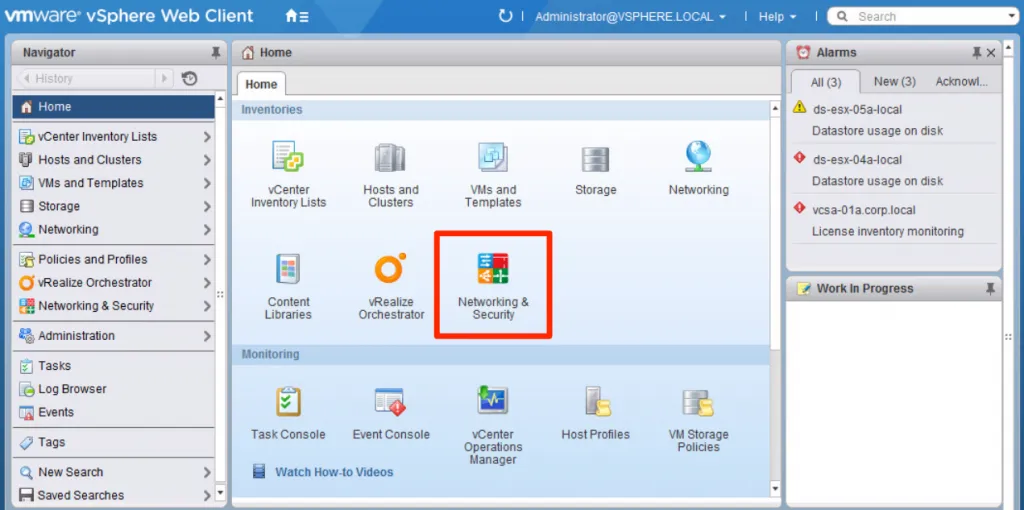
If you want to remove VMware NSX from your vSphere environment, it’s as simple as reversing the installation steps (remove logical network configuration, remove NSX Service VMs, remove the NSX VIBs from the ESXi hosts and remove the NSX Manager). NSX is completely managed through the vSphere Web Client connecting to your vCenter. After you have reversed the installation steps, you are left with the NSX solution inside the vSphere Web Client.

Removing the NSX Solution from vCenter
Inside vCenter there’s the Managed Object Browser (MOB), which has access to all objects in the vCenter system and you can perform several actions against vCenter. To get to the MOB, open a browser to the url https://

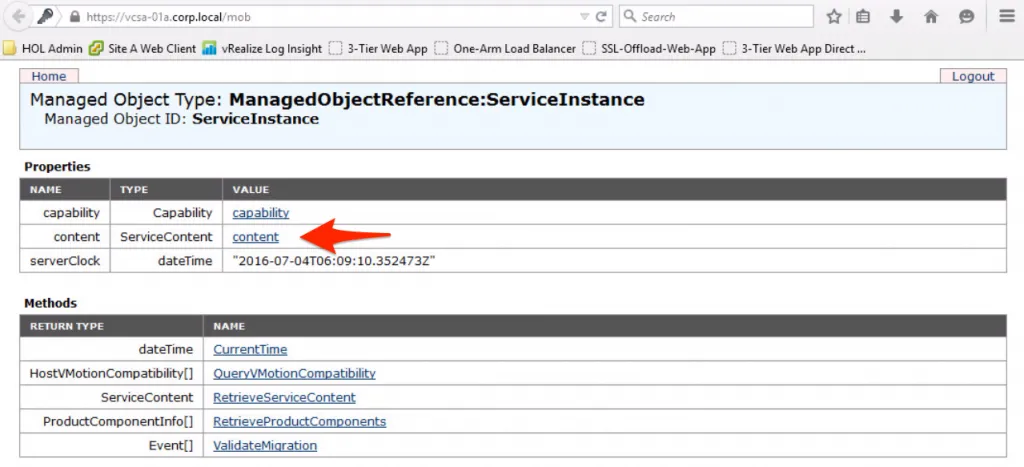
After logging in, you’ll get the MOB index page. If you’ve never seen it before, it can look a bit weird, but that’s normal as it’s supposed to be a developer tool. ;-)
From the MOB index page, click content.

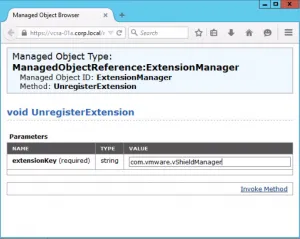
We need to go a few levels deeper. On the content page, click the ExtensionManager link. On the ExtensionManager page, click the UnregisterExtension link. You will get a popup window after the latest click.
In the text box after extensionKey, input com.vmware.vShieldManager and click Invoke Method.

After the unregistration is complete, the window will add Method Invocation Result: void to the bottom of the page. Like I said, developer stuff.
When that’s done, you’re done! The NSX Solution page is now gone from your vSphere Web Client.
