
Guacamole is a gateway application described for HTML5 Clientless Remote Desktop, as I described in a previous post. I still use it daily and have not had any problems with it for the last 6 months.
Throughout the years, I've switched between a lot of desktop access methods (VNC, RDP, RDP over SSL-VPN, VMware View, etc, etc) and Guacamole is the only one I've managed to stick with for last 6 months and see myself sticking with for a very long time.
This post will go into the installation of Guacamole on a CentOS 6 Linux server. The following commands and links might change over time, search for an alternative if a command is outdated. I'm assuming you have good knowledge of Linux and not explaining everything, just the important parts to get Guacamole running.
Proxy and Web Interface
There are two components to guacamole; a proxy daemon called guacd and the web interface (part of libguac). The proxy daemon creates and upholds the connection to the system the user connects to.
The web interface is where the user connects to and logs into, through a browser. This part of guacamole contains the JavaScript client that does the presentation of the connection.
It would be possible to put the proxy and the web interface on different servers. You could put the web interface inside the DMZ with very limited connectivity and put the proxy in a different zone which has the required connectivity (RDP or VNC) to the system(s) you want to connect to.
Plugins
The proxy daemon is built in a modular fashion and uses plugins for the system access. Currently, there are plugins for RDP, VNC and SSH. You can choose to install just one plugin, two plugins or all plugins. If you just want RDP access, just install the RDP plugin.
Packages
Both the proxy and web interface can be installed with the packages guacd and libguac. All the required packages can be found in the EPEL repository. So, first we need to add that repository:
## 32bit ##
[root@centos ~]# wget http://download.fedoraproject.org/pub/epel/6/i386/epel-release-6-8.noarch.rpm
[root@centos ~]# rpm -ivh epel-release-6-8.noarch.rpm

## 64bit ##
[root@centos ~]# wget http://download.fedoraproject.org/pub/epel/6/x86_64/epel-release-6-8.noarch.rpm
[root@centos ~]# rpm -ivh epel-release-6-8.noarch.rpm
After adding the repository, you will have access to the following packages:
- guacd (proxy daemon)
- guacamole (client interface)
- libguac (common library)
- libguac-client-rdp (RDP plugin)
- libguac-client-vnc (VNC plugin)
- libguac-client-ssh (SSH plugin)
Installing the packages
Now we can get started installing the packages and having them start on boot. Yum will automatically gather the dependancies needed, like tomcat.
[root@centos ~]# yum -y install guacd libguac-client-rdp libguac-client-vnc libguac-client-ssh guacamole
[root@centos ~]# chkconfig guacd on
[root@centos ~]# chkconfig tomcat on
After installing the packages, guacamole will be installed here:
/etc/guacamole (configuration)
/etc/tomcat6 (tomcat configuration)
/var/lib/tomcat6/webapps/guacamole/ (web interface)
Now you will need to download the main Gaucamole java web application. Check on the Guacamole website for a newer release, I'm using the URL for the latest release at the time of writing this article.
cd /var/lib/tomcat6/webapps/
wget 'http://downloads.sourceforge.net/project/guacamole/current/binary/guacamole-0.8.3.war?r=&ts=1403209167&use_mirror=netcologne'
mv guacamole-0.8.3.war guacamole.war
The last thing you need to do is to tell the startup scripts where to find the configuration files. As mentioned earlier, Guacamole puts the configuration files in /etc/guacamole (guacamole.properties and user-mapping.xml). You have the possibility to move them to another directory, but I'm leaving them in their default spot.
echo "export GUACAMOLE_HOME=/etc/guacamole" > /etc/profile.d/guacamole.sh
echo "setenv GUACAMOLE_HOME /etc/guacamole" > /etc/profile.d/guacamole.csh
Configuration
The installation is now finished and you can move on to configuration. For all the configuration options, check out the manual on Configuring Guacamole.
Lets start by having the tomcat server listen on a specific IP address. You can do this in /etc/tomcat6/server.xml, look for this:
    <Connector port="8080" protocol="HTTP/1.1"
               connectionTimeout="20000"
               address="0.0.0.0"
               redirectPort="8443" />
and
    <Connector port="8443" protocol="HTTP/1.1" SSLEnabled="true"
               maxThreads="150" scheme="https" secure="true"
               clientAuth="false" sslProtocol="TLS" address="0.0.0.0" />
Change the 0.0.0.0 to the IP address you want Guacamole to run on. That's it for the tomcat configuration, lets move on to Gaucamole.
The user-mapping.xml file (/etc/guacamole/user-mapping.xml) is where you define the users that can login to Guacamole and what system connections they have available. Here's an example of how you can configure it:
<user-mapping>

    <authorize
            username="username"
            password="5f4dcc3b5aa765d61d8327deb882cf99"
            encoding="md5">

        <connection name="RDP - Windows Server">
            <protocol>rdp</protocol>
            <param name="hostname">xx.xx.xx.xx</param>
        </connection>

        <connection name="VNC - Linux Server">
            <protocol>vnc</protocol>
            <param name="hostname">yy.yy.yy.yy</param>
        </connection>

        <connection name="SSH - Linux Server">
            <protocol>ssh</protocol>
            <param name="hostname">zz.zz.zz.zz</param>
        </connection>

        <connection name="Telnet - Linux Server">
            <protocol>telnet</protocol>
            <param name="hostname">aa.aa.aa.aa</param>
        </connection>

    </authorize>

</user-mapping>
You can choose either MD5 passwords or cleartext passwords. You should not use cleartext passwords in configuration files, so please use a MD5 encrypted password. To generate one, you can use this:
[root@centos ~]# echo -n 'password' | md5sum
Please be sure to have a look at the specific configuration options for the connections (RDP, VNC, SSH and Telnet) for more options to pass to the connections, like username and password, port number, etc.
When you're done configuring your connections, all that is left is to start the services.
[root@centos ~]# service guacd start
[root@centos ~]# service tomcat6 start
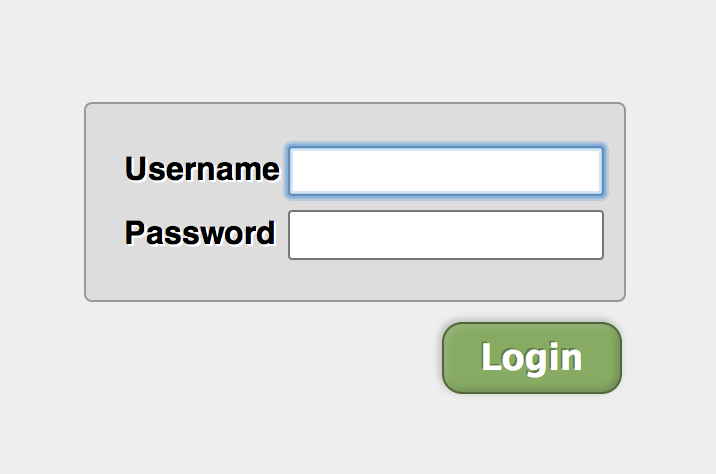
After this is done, you can login to your Guacamole via https://1.1.1.1:8443 (1.1.1.1 being the IP address you used in /etc/tomcat6/server.xml).
Have fun!
Leave a Reply